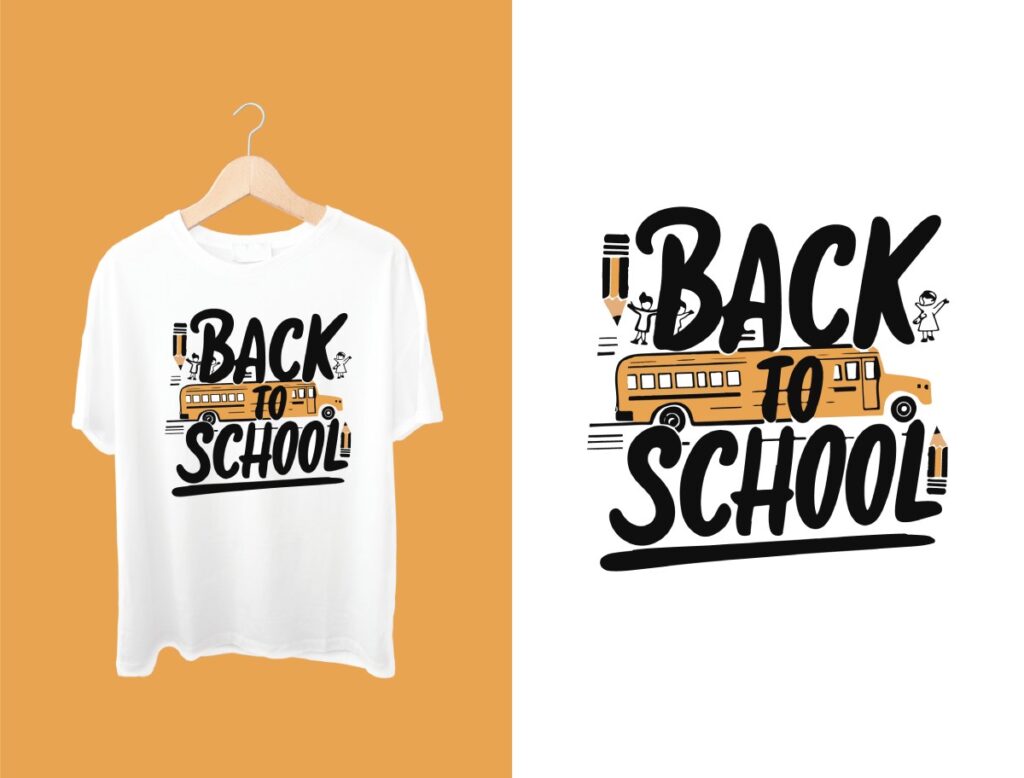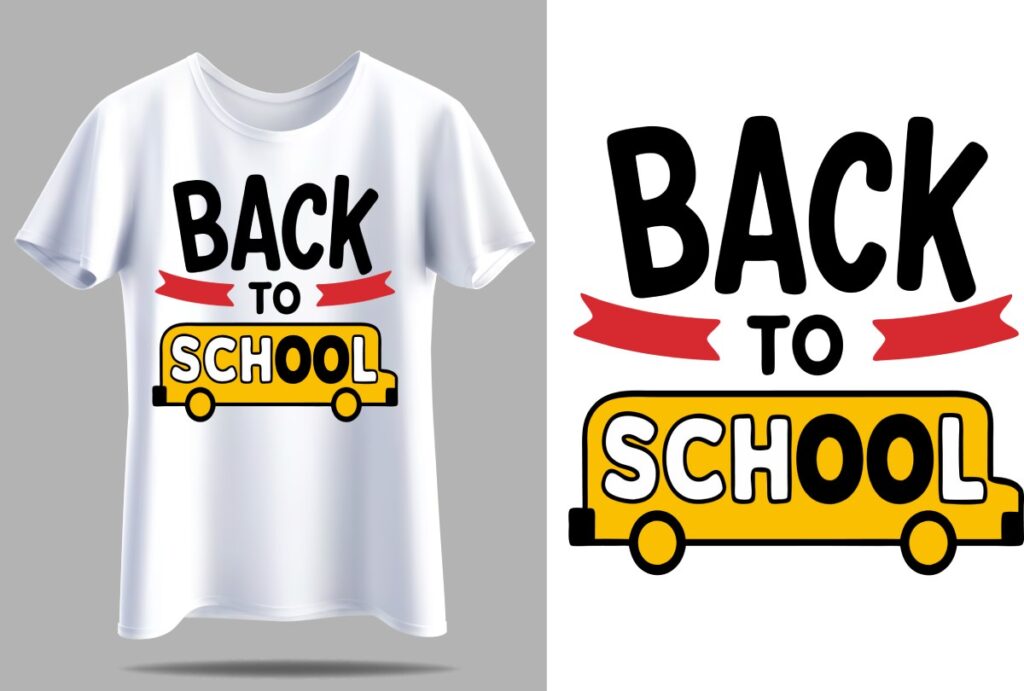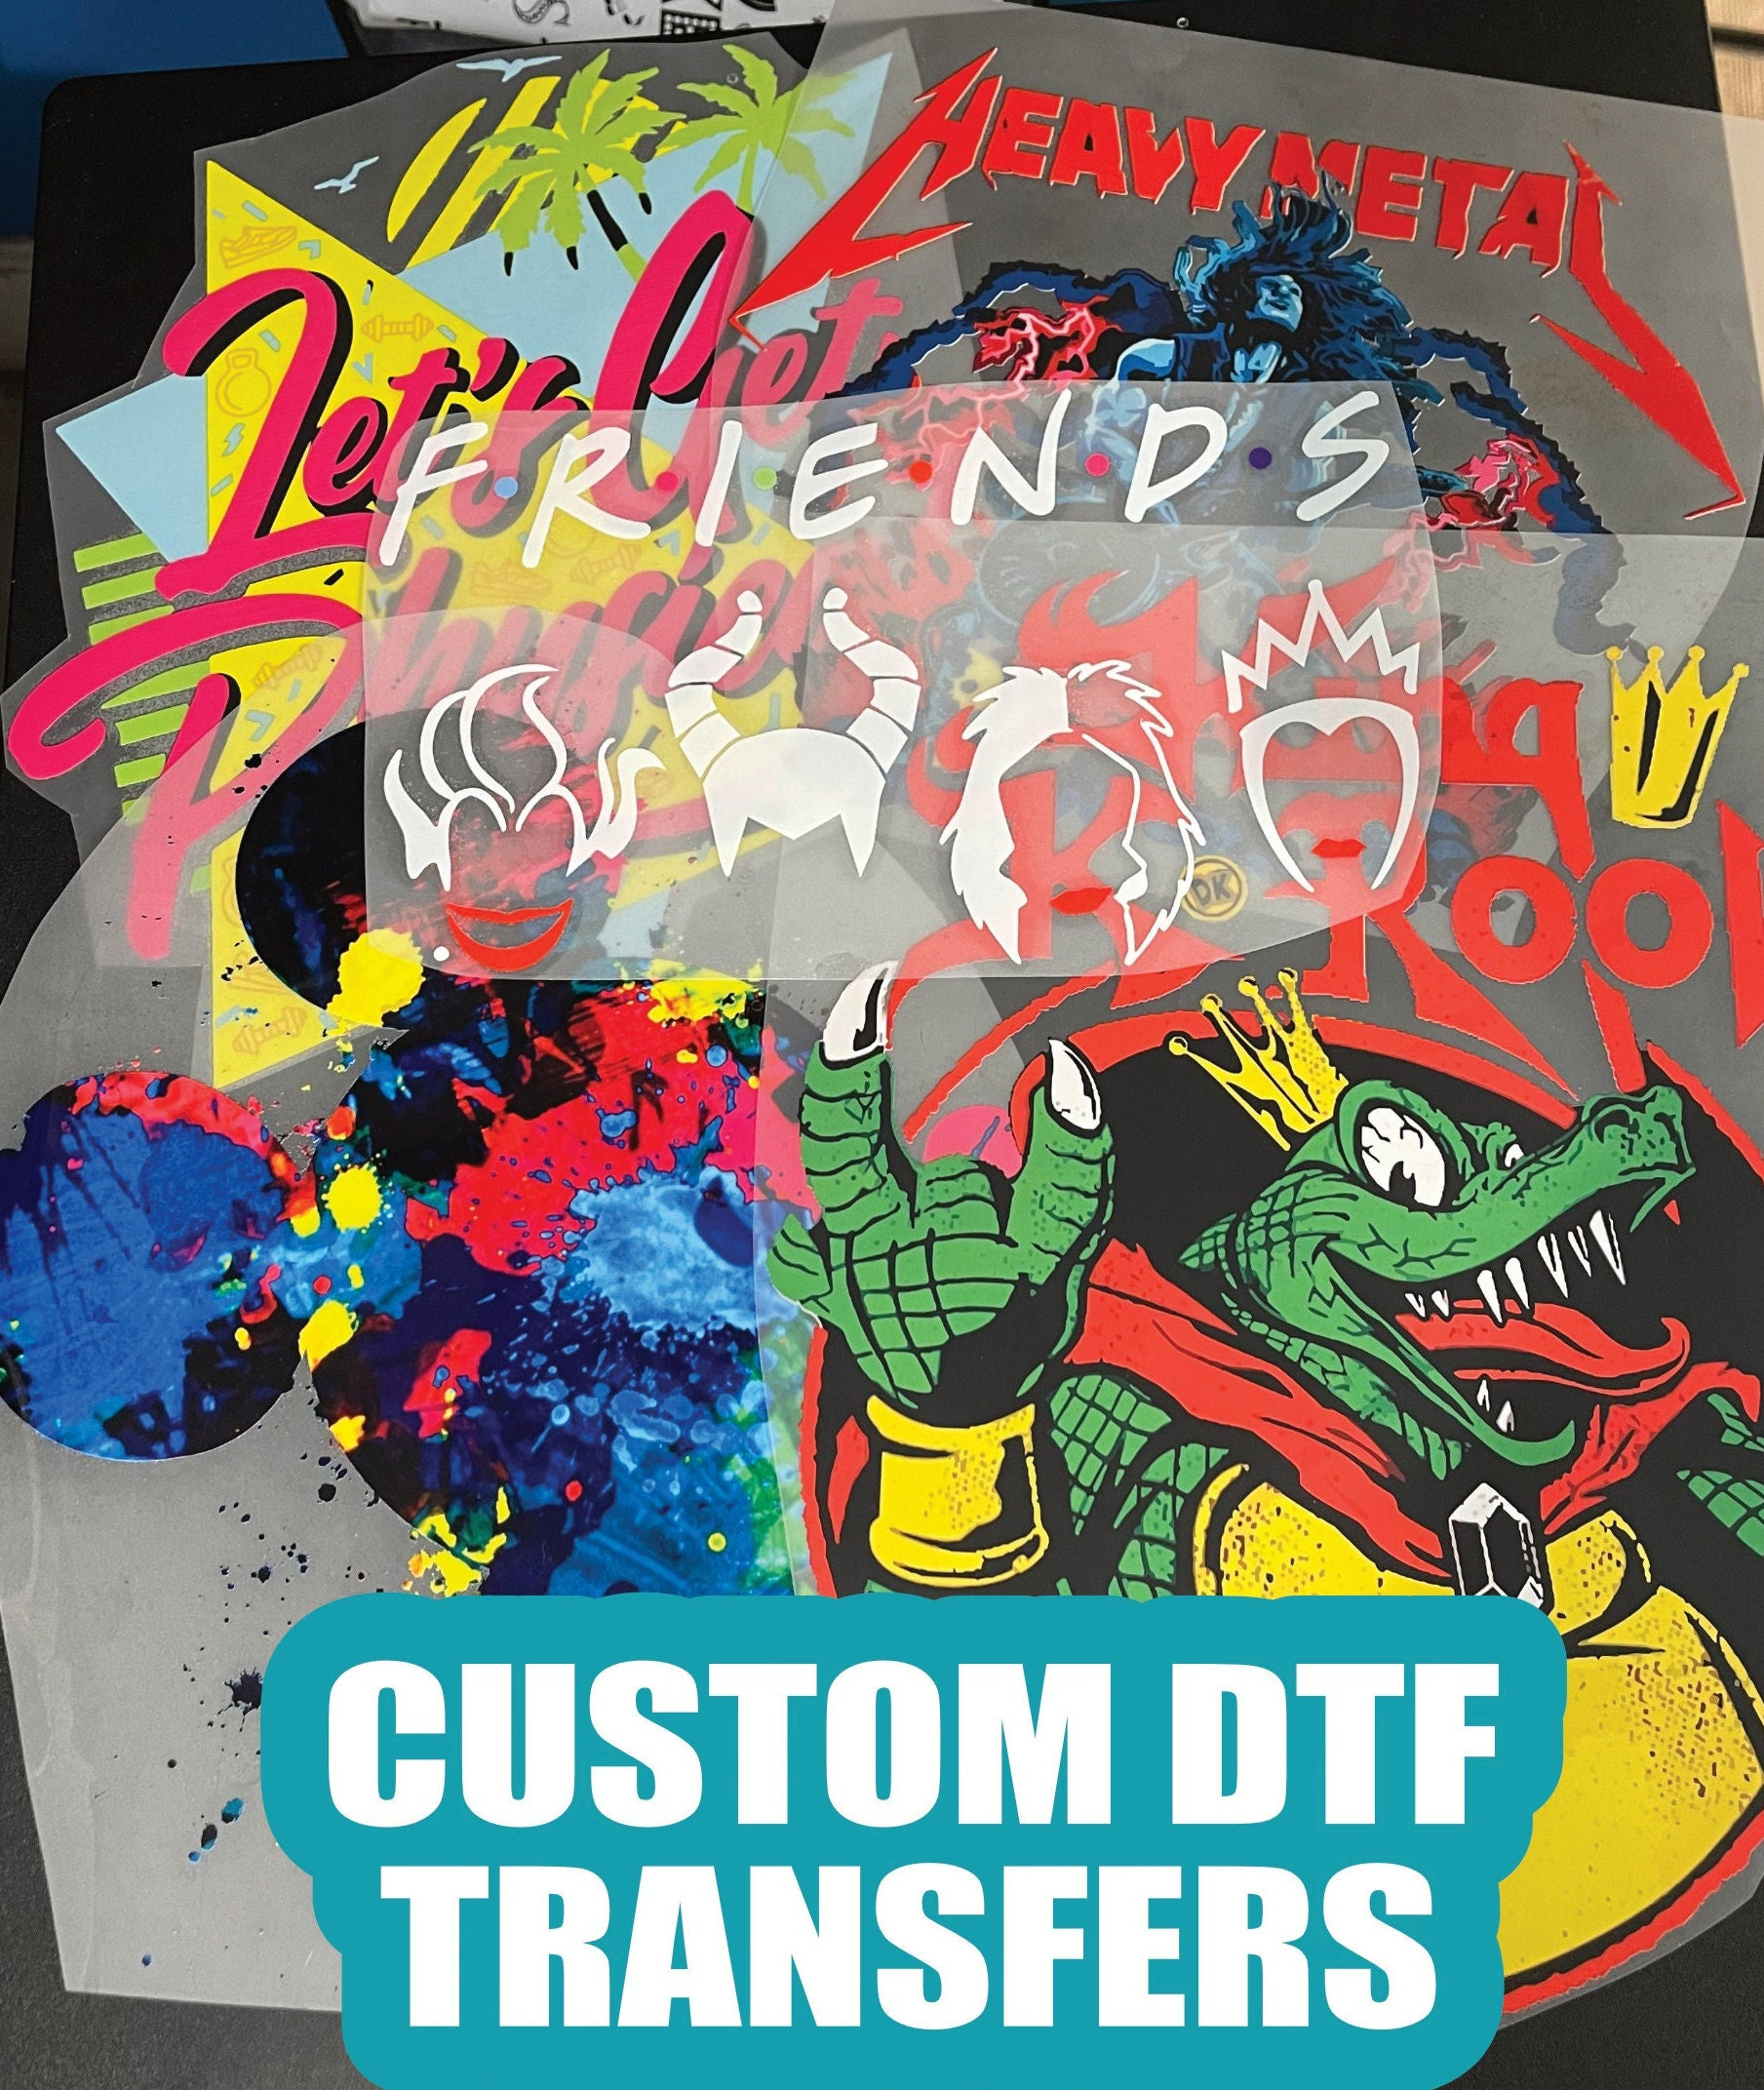
DTF Transfers, short for Direct-to-Film transfers, have emerged as a revolutionary technique in the custom apparel industry. This innovative method simplifies the process of fabric printing, allowing designers to transfer vibrant, high-quality images onto clothing with remarkable detail. By utilizing specialized DTF film, a DTF printer, and heat transfer technology, enthusiasts can create unique designs that stand out. As the demand for custom apparel continues to rise, the ability to produce stunning DTF transfers opens up endless opportunities for creativity. Whether you’re a hobbyist looking to personalize your wardrobe or a business aiming to provide bespoke garment solutions, mastering DTF transfers is essential for achieving impressive results.
The world of fabric decoration has evolved with the advent of Direct-to-Film techniques, enabling a seamless way to transfer designs onto garments. By utilizing heat transfer technology, artists and businesses can benefit from a streamlined process that offers high-definition results. With DTF printing, detailed images are printed onto a designated film, making it ideal for those looking to create custom clothing items. This method not only ensures vibrant colors but also durability, providing an excellent solution for those involved in the custom apparel market. From graphic designers to small business owners, mastering this innovative technique can greatly enhance product offerings in today’s competitive landscape.
Understanding the DTF Printing Process
DTF printing is revolutionizing the world of fabric printing by offering a unique method for transferring intricate designs onto clothing. Instead of traditional methods, DTF utilizes a special film that captures brilliant colors and fine details. This film is printed with DTF ink, which is specifically formulated to bond well with the adhesive applied afterwards. The process begins with creating a digital design, which is reversed and then printed onto the DTF film, ensuring that the final image appears correctly once transferred onto fabric.
The essence of DTF printing lies in its multistage process, making it a versatile option for custom apparel. After printing the design, the application of a powdered adhesive is essential. This adhesive is activated during the heat transfer process, creating a durable bond between the ink and fabric. As a result, the final product showcases vibrant colors while withstanding multiple washes without fading. Understanding each step in the DTF printing process ensures that enthusiasts can achieve top-notch results every time.
Essential Materials for Successful DTF Transfers
Creating stunning DTF transfers requires specific materials that are critical for achieving professional-quality results. The cornerstone of this process is the DTF printer, which utilizes unique DTF inks and films compatible with heat transfer technologies. Alongside the printer, you will need DTF transfer film designed to hold the inks during printing while allowing for a smooth transfer to fabric. Additionally, powdered adhesives play an important role, ensuring that the designs stick effectively to various garment types.
Moreover, having the right heat press machine is vital for ensuring even pressure and consistent heat application, which are essential for a successful transfer. Investing in a good curing oven or hot air gun is equally important as it helps in curing the adhesive after it is applied, ensuring smooth and durable designs. Assembling these materials will empower anyone looking to start their screen printing journey with DTF technology, facilitating the creation of high-quality custom apparel.
Design Preparation for DTF Transfers
Preparing your design is a key step in the DTF transfer process, and it entails using graphic design software such as Adobe Illustrator or CorelDRAW. When creating your graphics, it’s crucial to consider the dimensions and fabric type of the garment you will be using. This involves not only crafting eye-catching visuals but also ensuring that the file maintains a high resolution, ideally in PNG or PDF format, for the finest clarity during printing.
Additionally, you should be mindful of color choices and image placement, as these factors will influence how striking the final transfer will appear on fabric. Incorporating design elements that complement the fabric color can enhance the overall aesthetic of the final product. Careful design preparation sets the stage for success in DTF printing, ensuring captivating outcomes on each custom apparel piece.
The Printing Stage: Key Steps to Follow
Once your design has been prepared, it is time to move on to the printing stage of your DTF transfer project. The first step involves loading the DTF film into your printer, ensuring that you insert it correctly to capture the design perfectly. Remember to reverse the design before printing; this step is critical for achieving the correct orientation when the transfer is applied to the fabric—it’s perhaps one of the most vital aspects of the process. The design should be printed onto the matte side of the DTF film for optimal results.
After the printing process, immediately apply powdered adhesive over the wet ink to ensure complete coverage. This adhesive will help completely bind the design to the fabric during the heat transfer process. The timing of applying the adhesive is crucial; any delay can affect the bond strength, leading to subpar results. Thus, following these precise steps will significantly influence the quality and durability of your finished DTF transfers.
Curing Adhesives for Optimal Bonding
Curing the adhesive applied to your DTF transfer is a critical step that cannot be overlooked if you aim for a high-quality result. Whether utilizing a hot air gun or a curing oven, your goal during this process is to ensure that the adhesive is melted evenly and achieves the right viscosity for optimal bonding. A common mistake is to rush through curing, which can result in sticky spots and uneven adhesion, compromising the integrity of your design.
During the curing process, it is essential to monitor the temperature and time closely, adjusting as necessary based on your equipment and the specific adhesive being used. Ensuring that the adhesive is fully cured will guarantee that the DTF design transfers successfully to the garment during the heat application. This step is pivotal for achieving vibrant, long-lasting prints that will withstand the rigors of wear and washing.
Final Steps for Perfecting Your DTF Transfers
After curing your DTF transfer, you are nearly at the finish line of the creation process. The next phase involves applying the transfer to your garment using a heat press. Preheating the press to the right temperature—usually around 320°F (160°C)—is essential for ensuring the transfer adheres properly. Position your cured transfer on the garment carefully, ensuring it is aligned perfectly before applying pressure.
Once pressed, allow the transfer to cool slightly before gently peeling away the film. This initial cooling helps ensure a strong bond has formed between the design and the fabric. For added security, many makers recommend a final pressing with a protective sheet, which further enhances durability. By following these final touches, you can guarantee that your DTF transfers not only look stunning but also remain long-lasting and resistant to wear.
Frequently Asked Questions
What is DTF printing and how does it work?
DTF printing, or Direct-to-Film printing, is a modern fabric printing method where designs are printed onto a special DTF film using a DTF printer. The process involves applying an adhesive powder to the wet ink, curing it, and then using heat transfer to apply the design onto garments. This method produces vibrant, durable prints suitable for custom apparel.
What materials do I need to create DTF transfers?
To create DTF transfers, you’ll need a DTF printer, specialty DTF transfer film, DTF ink, adhesive powder, a heat press machine, and optionally a curing oven or hot air gun. Additionally, choose suitable garments made of cotton or polyester for optimal results in fabric printing.
How do I prepare my design for DTF transfers?
When preparing your design for DTF transfers, use graphic design software like Adobe Illustrator or CorelDRAW. Ensure your design is created in high resolution and saved in formats like PNG or PDF. Remember to reverse the design before printing to ensure it appears correctly once transferred.
What is the curing process for DTF transfers, and why is it important?
The curing process for DTF transfers involves using a hot air gun or curing oven to melt the adhesive powder applied to the printed design. This step is crucial for ensuring the adhesive is fully smooth and even, which guarantees that the design adheres properly to the fabric during heat transfer.
What are the care instructions for garments with DTF prints?
To maintain the quality of DTF printed garments, wash them inside out in cold water and avoid using bleach or harsh chemicals. Proper care will help preserve the vibrant colors and durability of your DTF transfers, ensuring they last longer.
Can I create custom apparel using DTF transfers for a business?
Yes, you can create custom apparel using DTF transfers for a business. DTF printing is favored for its ability to produce high-quality, vibrant designs on various fabric types. By mastering DTF transfers, you can offer unique, personalized apparel to customers and explore many creative opportunities.
| Step | Key Points |
|---|---|
| 1. Materials Needed | Requires specialized tools such as DTF printer, film, ink, powder adhesive, heat press, curing oven, and suitable garments. |
| 2. Preparing Your Design | Use graphic design software to create graphics and save in high-resolution formats like PNG or PDF. |
| 3. Printing Your Design | Load DTF film, reverse print the design, and apply powdered adhesive immediately after printing. |
| 4. Curing the Adhesive | Use a hot air gun or curing oven to melt the adhesive smoothly and evenly. |
| 5. Heat Transfer to the Garment | Set heat press to 320°F (160°C), position transfer on the garment, and press for 10-15 seconds. |
| 6. Peeling and Finishing Touches | Gently peel the film when warm and optionally press again with a protective sheet for durability. |
| 7. Care Instructions | Wash garments inside out in cold water; avoid bleach or harsh chemicals to preserve the print. |
Summary
DTF Transfers offer a dynamic and effective method for customizing fabrics, allowing creators to produce vibrant, high-quality designs. The process involves several carefully controlled steps, starting from the selection of specialized equipment to the final pressing of the design onto a garment. Each stage, including preparing the design, printing, curing the adhesive, and transferring to the fabric, plays a critical role in ensuring a successful outcome. Understanding the specifics of DTF Transfers can empower individuals, whether they are hobbyists or aspiring business owners, to create lasting and beautiful apparel that stands out.