
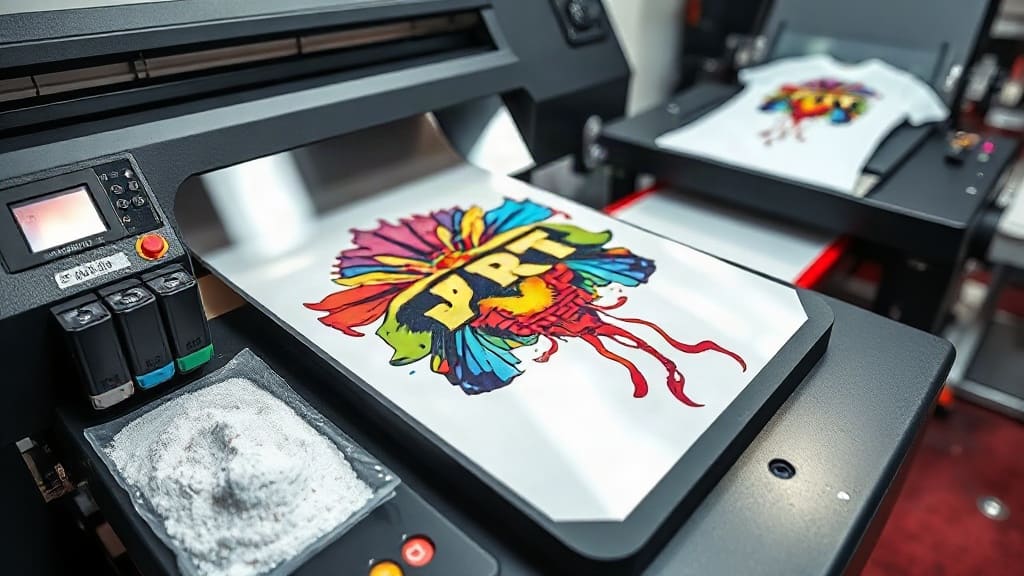
If you've been exploring custom apparel decoration, you've likely heard about DTF printing. This technology, which stands for Direct-to-Film, has taken the industry by storm. It promises vibrant colors, easy application on various fabrics, and a low barrier to entry. But is it really the game-changer it's made out to be? In this comprehensive guide, I'll walk you through what DTF is, how it works, its advantages and drawbacks, and how to get started. By the end, you'll have a clear picture of whether DTF is the right fit for your printing needs.
What is DTF Printing?
DTF, or Direct-to-Film, is a printing method where a design is printed onto a special PET film using a printer equipped with white ink. The printed film is then coated with adhesive powder, cured, and heat-pressed onto a garment. This process allows for detailed, full-color transfers that can be applied to a wide range of fabrics, including cotton, polyester, blends, and even tricky materials like nylon or leather.
Unlike traditional screen printing or Direct-to-Garment (DTG), DTF doesn't require pre-treatment of the garment. The transfer is done via heat press, making it a versatile and efficient option for on-demand production.
How Does DTF Printing Work?
Understanding the step-by-step process helps you appreciate the technology and troubleshoot potential issues. Here's a breakdown:
1. Design Preparation
Create or prepare a design using graphic software. Ensure it has a transparent background, as the white ink layer will handle the areas you want opaque.
2. Printing on Film
Load the PET film into a DTF printer. The printer uses CMYK plus white ink. It prints the design in reverse (mirrored) onto the film. The white ink is laid down first, then the colors on top, or vice versa depending on the printer setup.
3. Applying Adhesive Powder
While the ink is still wet, cover the printed film with hot-melt adhesive powder. The powder sticks only to the wet ink. Remove excess powder by shaking or using a vacuum system.
4. Curing the Powder
Place the film in a dryer or heat tunnel to melt the adhesive powder. This step fuses the powder to the ink, forming a strong adhesive layer.
5. Cutting and Storing
Once cured, the transfer is ready to use. You can cut out individual designs and store them for future applications.
6. Heat Press Application
Place the transfer on the garment with the film side up. Press with a heat press at around 160-180°C (320-356°F) for 15-20 seconds with firm pressure. Let it cool, then peel the film off. Your design is now permanently adhered to the fabric.
Advantages of DTF Printing
DTF has gained popularity for good reasons. Let's explore the benefits:
- Fabric Versatility: Works on cotton, polyester, blends, and more. No need for pre-treatment chemicals.
- Vibrant Colors: The white ink base makes colors pop even on dark fabrics.
- Durability: When applied correctly, DTF transfers can withstand multiple washes without cracking or fading.
- Soft Hand Feel: The adhesive powder layer is thin, resulting in a soft texture that doesn't compromise comfort.
- Easy Setup: You can start with a simple system: a printer, film, powder, and heat press. No curing oven required.
- On-Demand Production: Print only what you need, reducing inventory costs.
Disadvantages and Challenges
No technology is perfect. Here are some hurdles you might face with DTF:
- Learning Curve: Getting the powder application and curing right takes practice. Over- or under-curing can affect adhesion.
- Equipment Costs: A DTF printer with white ink can be pricey. Plus, you'll need a heat press and other accessories.
- Film Waste: You must use specific PET film, and unused areas can't be reused unless you print multiple designs and cut them out.
- Transfer Appearance: Some people dislike the slight plastic feel or the visible transfer edge, especially on light fabrics. But high-quality transfers minimize this.
DTF vs. DTG: Which is Better?
Direct-to-Garment printing is another popular method for full-color designs. Here's a quick comparison:
- Fabric Compatibility: DTG works best on 100% cotton; DTF works on many fabrics.
- Softness: DTG prints are virtually seamless and very soft. DTF transfers have a slight texture.
- Bulk Production: DTF is faster for multiple pieces because you print the transfer once and press many shirts. DTG requires printing each shirt individually.
- Cost: For small quantities, DTF can be more cost-effective due to lower equipment investment. For very large orders, screen printing still wins.
If you're a beginner or need to produce on-demand, DTF might be more practical. If you focus on high-quality cotton tees, DTG could be better.
Cost Considerations in DTF Printing
Let's break down the costs involved:
- Initial Investment: A desktop DTF printer can cost from $2,000 to $5,000. Industrial models are more expensive. You'll also need a heat press (around $300-$500) and a powder shaker/curing unit ($500-$1,000).
- Consumables: PET film, ink, and adhesive powder add up. On average, the material cost per transfer is about $0.20-$0.50 for a 10x10 cm design, depending on quality and quantity.
- Labor: The process involves several manual steps, so factor in your time.
For pricing your products, a common formula is: (Material cost + Labor) x 3 + Overhead. But research your local market to stay competitive.
Tips for Perfect DTF Transfers
Here are some practical tips I've learned from my own trials:
- Use High-Quality Films: Cheap films may curl or not release properly.
- Balance Powder: Too much powder creates a thick edge; too little leads to poor adhesion. Shake off excess thoroughly.
- Cure Properly: The powder must melt completely. Use a temperature gun to ensure your dryer reaches 160°C for at least 2 minutes.
- Press with the Right Pressure: Firm, even pressure is key. Use a heat press with adjustable pressure settings.
- Test, Test, Test: Always do a wash test after pressing to check durability. Adjust your parameters accordingly.
Frequently Asked Questions
Can DTF transfers be used on dark shirts?
Absolutely! In fact, DTF shines on dark fabrics because the white ink layer ensures opacity. The design will look vibrant without needing a white underbase.
How long do DTF prints last?
With proper application and care, DTF transfers can last for many washes, often 50 or more. They are comparable to DTG in durability. To extend life, wash garments inside out in cold water and avoid excessive heat drying.
Do I need to pre-treat the garment?
No, that's one of the beauties of DTF. You can press directly onto the fabric without any pre-treatment, saving time and money.
What type of printer do I need for DTF?
You'll need a printer that can handle white ink and print on PET film. Many use Epson or Ricoh printers that have been converted for DTF. Some brands offer dedicated DTF printers, but you can convert an existing printer with the right kit.
Is DTF printing eco-friendly?
DTF uses water-based inks and generates less waste compared to screen printing. However, the film and adhesive powder are not biodegradable. Some companies offer recyclable films, but it's still an area of concern.
Final Thoughts
DTF printing is a versatile and accessible method that has democratized custom apparel production. It allows small businesses to offer high-quality, full-color prints on a variety of garments without massive upfront investments. While it has a learning curve, the results can be stunning if you follow best practices. Whether you're a hobbyist or a growing brand, DTF is worth considering. So why not give it a try? Start small, experiment, and soon you'll be producing professional-grade transfers.