
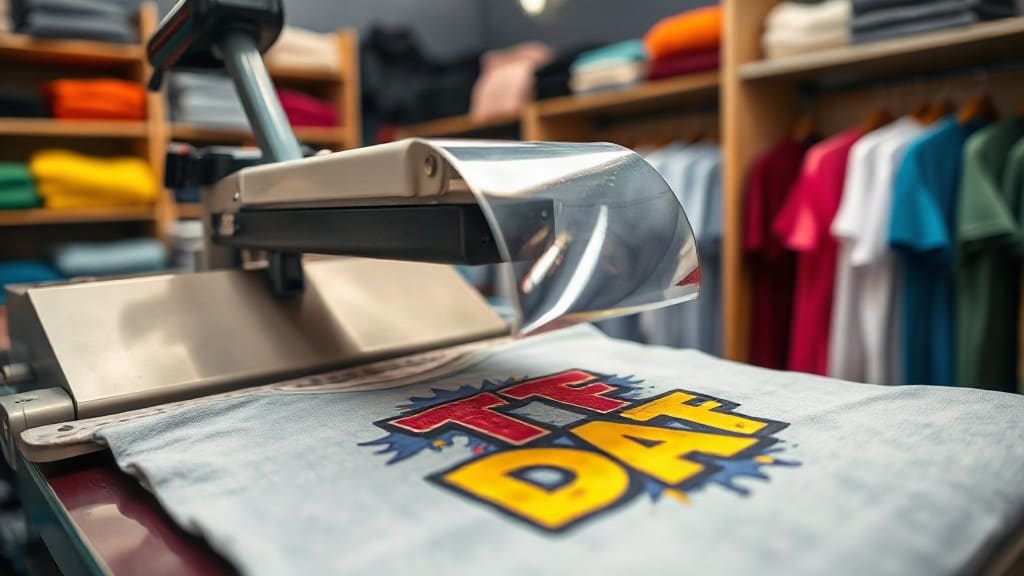
DTF transfers have revolutionized the custom printing industry, offering a versatile and cost-effective solution for creating vibrant designs on various fabrics. Whether you're a small business owner, a hobbyist, or a large-scale manufacturer, understanding the ins and outs of DTF transfers can open new doors for your creative projects. In this guide, we'll dive deep into what they are, how they work, their advantages, and tips for getting the best results.
What Are DTF Transfers?
DTF transfers (Direct to Film) are a printing method where designs are printed onto a special film, coated with adhesive powder, and then heat-pressed onto fabric. Unlike traditional screen printing or heat transfer vinyl, DTF allows for full-color prints with no minimum order quantities, making it ideal for custom one-off items or small batches. The process is straightforward, and the results are durable and stretchable.
How Do DTF Transfers Work?
The DTF process involves several key steps:
- Printing the design onto a PET film using a DTF printer and specialized inks (CMYK plus white).
- Applying a hot-melt adhesive powder to the wet ink while it's still on the film.
- Drying or curing the powder to ensure it adheres properly.
- Cutting the printed film to shape (if necessary) and placing it on the garment.
- Heat pressing the transfer onto the fabric at a specific temperature and pressure.
- Peeling off the film after cooling, leaving the design permanently embedded in the fabric.
Why Choose DTF Transfers?
There are several compelling reasons to choose DTF transfers over other methods:
- Versatility: Works on cotton, polyester, blends, and even leather or denim.
- Vibrant colors: The white ink layer ensures colors pop even on dark fabrics.
- Soft feel: The prints have a soft, flexible texture that doesn't crack easily.
- Cost-effective: No minimum order, so you can print a single item at a reasonable price.
- Durability: Prints withstand repeated washing and drying without fading.
- Easy registration: Since the design is printed on film, alignment is precise.
Step-by-Step Guide to Using DTF Transfers
If you're new to DTF printing, here's a detailed walkthrough to help you get started.
1. Prepare Your Artwork
Ensure your design is high-resolution (at least 300 DPI). Use software like Adobe Photoshop or Illustrator to create your artwork, and remember to account for the white underbase layer. Your design should be in PNG format with a transparent background for best results.
2. Print on Film
Load your PET film into the DTF printer. Make sure to use the correct side (usually matte). The printer will lay down the CMYK colors first, followed by a white layer, which is crucial for opacity on dark garments.
3. Apply Adhesive Powder
While the ink is still wet, apply the hot-melt adhesive powder evenly over the printed film. Shake off the excess and ensure the powder covers all areas. This powder is what bonds the design to the fabric during heat pressing.
4. Cure the Powder
Use a curing oven or a heat press at a lower temperature to melt the powder slightly, ensuring it sticks to the ink. This step prevents the powder from shifting or falling off during handling.
5. Cut and Trim
Once cured, you can cut out individual transfers using scissors or a cutting plotter. If you have a complex shape, a plotter gives you precise edges.
6. Heat Press
Preheat your heat press to around 320°F (160°C) with medium pressure. Place the transfer on the garment with the film side up, and press for 15-20 seconds. The heat activates the adhesive, bonding the design to the fabric.
7. Peel and Finish
After pressing, allow the garment to cool for a few seconds, then peel off the film. You can do a cold peel or warm peel depending on the film's specifications. Once peeled, your custom print is ready!
Tips for Perfect Results
To get the most out of your DTF transfers, keep these tips in mind:
- Use a quality DTF printer and consumables to ensure consistency.
- Calibrate your heat press regularly to avoid temperature fluctuations.
- Test on a scrap fabric first to fine-tune your press time and temperature.
- Store films and powders in a dry, cool place to prevent moisture damage.
- Shake the adhesive powder well before each use to avoid clumps.
Common Mistakes to Avoid
Even experienced printers can make errors. Here are some pitfalls to watch out for:
- Not printing a white layer on dark fabrics: This results in faded colors.
- Using too much or too little powder: Both can cause poor adhesion.
- Incorrect heat press settings: Too low won't bond; too high can scorch the fabric.
- Peeling too quickly: Some films require a cool peel; check the manufacturer's instructions.
- Ignoring fabric compatibility: Some synthetic fabrics may not withstand high heat.
DTF Transfers vs. Other Printing Methods
Understanding how DTF transfers compare to other popular methods can help you choose the right one for your needs.
DTF vs. Screen Printing
Screen printing is economical for large quantities but requires screens and setup costs. DTF offers flexibility for small runs and full-color designs without setup fees.
DTF vs. Heat Transfer Vinyl (HTV)
HTV is great for simple designs with few colors, but cutting and weeding can be time-consuming. DTF prints full-color images quickly and has no weeding.
DTF vs. Direct-to-Garment (DTG)
DTG prints directly onto the shirt, but it's limited to cotton and has higher per-print costs. DTF can print on various fabrics and is more cost-effective for small batches.
Applications of DTF Transfers
DTF technology is incredibly versatile. Here are some popular uses:
- Custom t-shirts for events, sports teams, or personal gifts.
- Hoodies, sweatshirts, and other apparel for fashion brands.
- Tote bags, pillowcases, and other textile products.
- Corporate merchandise and promotional items.
- Personalized items for online stores or print-on-demand services.
Frequently Asked Questions
What fabrics are best for DTF transfers?
DTF transfers work best on fabrics that can withstand heat, such as cotton, polyester, and blends. For best results, use garments with at least 50% cotton content. However, you can also use them on 100% polyester with lower press times and temperatures.
Can I wash DTF printed garments?
Yes, but to prolong the life of the print, wash inside out in cold water and tumble dry on low. Avoid using bleach or fabric softeners, which can degrade the adhesive.
How long do DTF transfers last?
With proper care, DTF prints can last for many washes without fading or cracking. The durability is comparable to other professional printing methods, making them suitable for everyday wear.
Do I need a special printer for DTF transfers?
Yes, you need a DTF printer, which is typically an Epson-based printer modified to handle DTF inks and films. These printers are available in various sizes to suit different production volumes.
Can I use DTF transfers on dark shirts?
Absolutely! One of the major advantages of DTF is that the printer lays down a white layer, which ensures vibrant colors on dark fabrics. This is a game-changer for custom apparel.
Final Thoughts
DTF transfers have truly changed the landscape of custom printing, offering a blend of simplicity, quality, and versatility that appeals to both beginners and professionals. Whether you're looking to start a small business or simply want to create personalized items for friends and family, mastering DTF technology can be a rewarding endeavor. With the right equipment and a little practice, you'll be producing stunning prints that rival any professional product.