
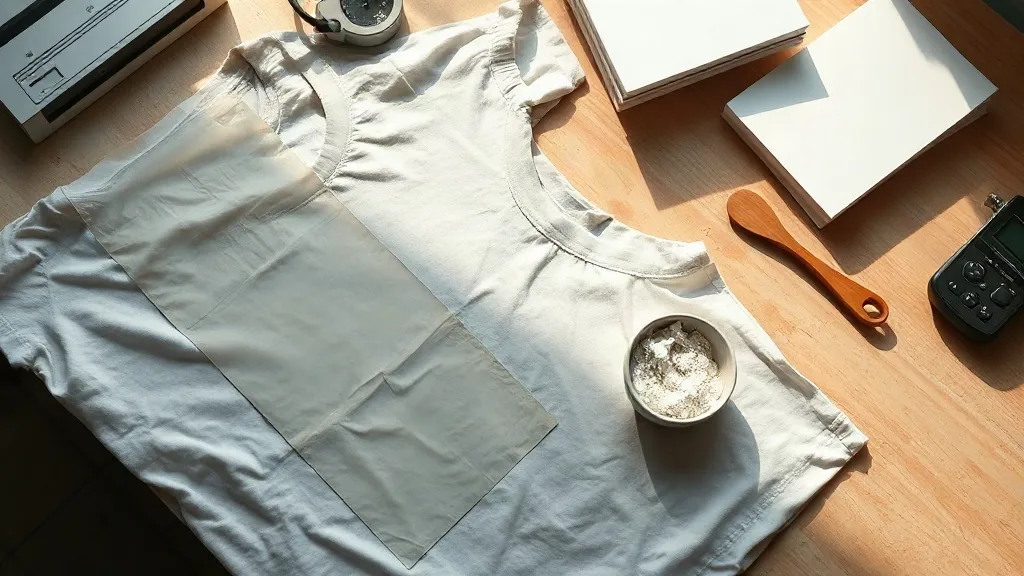
Most print shops obsess over the printer. They compare printheads, argue about ink brands, and upgrade machines long before they need to. Yet when a dtf transfers job comes back from the customer with a cracked edge or a stiff, plastic-feeling chest panel, the culprit is rarely the printer. It is almost always the film or the powder, the two consumables that get the least attention and decide the most.
This guide focuses entirely on those two decisions. If you already know how to run a DTF printer, the next real upgrade is learning to match film and adhesive powder to the garment, the climate in your shop, and the way you actually work. Get these right and even a modest setup produces transfers that stretch, wash, and feel like they belong on the shirt.
Why Film Choice Changes Everything
DTF film is not a neutral carrier. It is a coated PET sheet engineered to release ink cleanly at a specific temperature, and small differences in coating and thickness show up dramatically in the final transfer. A film that releases too eagerly causes the print to shift during application. A film that grips too hard leaves half the design behind on the sheet, and you find out only after you have already pressed the shirt.
Thickness and Hand Feel
Standard films in the 75 to 100 micron range are the workhorses of most shops. They handle heavy ink loads well and tolerate a bit of operator error, which makes them forgiving for busy production days. Thinner films, often around 50 to 75 microns, drape more softly on the garment and are worth the extra care when you print for lightweight tees, children's clothing, or anything where the customer will notice a heavy hand.
The trade-off is real. Thin film buckles more easily under uneven pressure and punishes a worn press platen. If your heat press has hot or cold spots, stick with a mid-weight film until you fix the press, because no film will save an inconsistent platen.
Cold Peel Versus Hot Peel
Peel behavior is one of the most practical choices you will make. Hot peel films let you remove the carrier sheet seconds after pressing, which speeds up throughput considerably on a busy day. Cold peel films require the transfer to cool fully before peeling, often a minute or more, but they tend to give a slightly softer finish and are more forgiving if your design has fine lines or small isolated dots.
A useful rule of thumb: high-volume shops printing bold, simple graphics should lean hot peel for speed. Shops printing detailed artwork, fine text, or small lettering should test cold peel first, because the slower release protects delicate elements from stretching or tearing.
Matching Film to Fabric
Not every garment behaves the same under a DTF transfer, and the film you choose should reflect that.
- 100% cotton tees: the most forgiving surface. Almost any film works, so choose based on hand feel and peel preference rather than adhesion worries.
- Polyester and performance wear: use a film rated for low-temperature application and watch for dye migration. Light-colored films and a lower press temperature help prevent the garment's dye from bleeding into the print over time.
- Blends and stretch fabrics: prioritize a film with good elasticity in the coating. A stiff film on a stretchy garment will crack at the shoulders and seams long before the print itself fails.
- Canvas, denim, and heavy twill: thicker films hold up better here because the rough surface needs a more robust carrier to release evenly.
If you are unsure where to start, order a small sample pack and press the same design onto three or four fabric types. The differences become obvious within an afternoon and save you weeks of guesswork.
The Powder Decision Nobody Talks About
Adhesive powder is the other half of the equation, and it is where many shops quietly lose quality. The powder melts into the ink during curing and becomes the layer that actually bonds to the fabric. Choose the wrong particle size or apply it unevenly and you get a transfer that feels gritty, sheds powder in the drawer, or peels at the corners after a handful of washes.
Fine Versus Coarse Powder
Fine powder, typically in the 80 to 170 micron range, melts into a smoother, thinner adhesive layer. It suits detailed designs and garments where hand feel matters, but it is fussier to apply and easier to over-shake into a thick, uneven coat. Coarse powder, often 170 to 250 microns, builds a thicker bond that stands up well to rough wear and heavy fabrics, at the cost of a slightly stiffer finish.
For most apparel work, a mid-range powder around 150 to 200 microns is the sensible default. It balances durability and softness without demanding perfect technique from every operator.
Getting the Shake Right
Powder application is where small habits compound. Shake the sheet over a tray with a steady, gentle motion and let the excess fall away rather than brushing it off with your hand. Aim for an even, matte coating where the wet ink is fully covered but the design's edges are not buried. If you can still see glossy patches, you have under-powdered. If the surface looks chalky and thick, you have overdone it, and that transfer will feel heavy and may crack.
Humidity matters more than most people expect. In a damp shop, powder clumps and applies unevenly. In very dry air, it scatters and clings to the film backing, which then contaminates your press. A simple hygrometer on the wall tells you when to adjust your technique or your room conditions.
Curing: The Step That Locks It All In
Once powder is applied, curing turns it from loose granules into a solid adhesive film. Under-cured transfers shed powder and fail in the wash. Over-cured transfers turn brittle and yellow. The sweet spot is usually a short pass under a heat source until the powder visibly melts into a glossy, continuous surface, with no visible grain remaining.
Watch the edges of the design closely. Edges cure faster than the center, so a transfer that looks perfect in the middle may still have un-melted powder at the border. A quick visual check before stacking sheets saves a lot of rejected orders.
Storage and Shop Workflow
Finished transfers are not indestructible. Store them flat, powder side up, away from heat and direct sunlight. Stacking heavy objects on top compresses the adhesive layer and can cause sticking when the sheets warm up. If you ship transfers to customers, include a simple instruction card, because most complaints about dtf products trace back to incorrect application at the other end, not a defective sheet.
Label your film and powder lots. When a customer reports an issue, being able to trace the batch turns a frustrating mystery into a five-minute check.
When Customers Search for Local Suppliers
Plenty of buyers start their search with dtf transfers near me, usually because they need a fast turnaround or want to inspect quality before committing to a bulk order. If you supply locally, make that easy: publish clear samples, state your standard film and powder specs, and offer a small trial run. Shops that can explain their consumable choices in plain language win repeat business far more reliably than those competing purely on price.
For buyers, the same logic applies in reverse. Ask any supplier which film and powder they use and why. A supplier who can answer specifically is usually one who has done the testing.
Frequently Asked Questions
Does film thickness really affect how a transfer feels on the shirt?
Yes, noticeably. Thinner films drape more softly and suit lightweight garments, while thicker films feel more substantial and hold up better on rough fabrics like canvas. The difference is easy to feel with a side-by-side test on the same shirt style.
Can I use the same powder for cotton and polyester?
Often yes, but press temperature is the bigger variable. Polyester needs lower temperatures to avoid dye migration, so choose a powder and film combination rated for that range rather than forcing a cotton setting onto a synthetic garment.
Why does my powder clump and apply unevenly?
Humidity is the usual cause. Powder absorbs moisture from the air and forms clumps that resist an even coat. Store powder in a sealed container, keep the work area reasonably dry, and check conditions with a hygrometer before blaming the product.
How do I know if a transfer is fully cured?
Look for a continuous glossy surface with no visible grain, and check the edges as carefully as the center. If any powder still looks loose or matte, give it more heat. Under-cured transfers are the most common reason prints fail in the wash.
Should I buy film and powder in bulk to save money?
Only after you have tested them on your actual garments and press. Bulk pricing is tempting, but a large order of film that does not suit your fabric mix is a costly mistake. Run a small batch first, confirm the results, then scale up.