
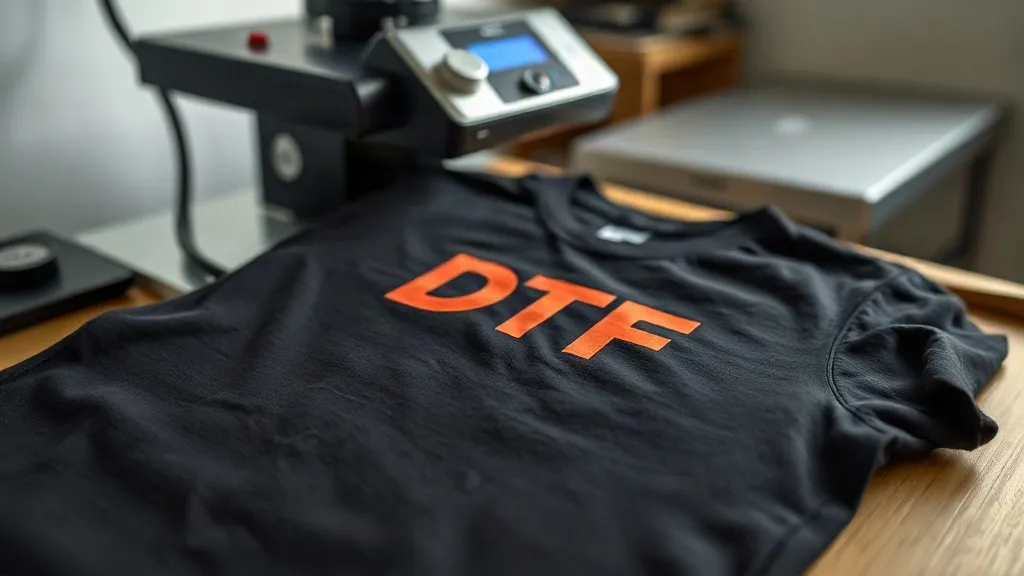
If you've been anywhere near the custom apparel scene lately, you've probably heard the buzz about dtf transfers. This printing method is quickly becoming a favorite among hobbyists and professionals alike, and for good reason. Unlike traditional methods that require specialized equipment or messy processes, DTF (Direct to Film) offers a straightforward way to get vibrant, durable prints on almost any fabric. Whether you're running a small business or just want to personalize your own wardrobe, understanding DTF can open up a world of creative possibilities.
In this guide, we'll break down everything you need to know about dtf transfers, from the basic workflow to expert tips for flawless results. By the end, you'll have a solid grasp of why this technology is revolutionizing the industry and how you can leverage it for your projects.
What Are DTF Transfers?
At its core, a DTF transfer is a printed design that's been created on a special film and then applied to fabric using heat and pressure. The process involves printing your artwork onto a PET film using specialized DTF inks, dusting it with a hot-melt adhesive powder, and then curing it. Once prepared, the transfer can be stored and used later, making it a versatile option for on-demand printing.
The magic happens when you press the transfer onto your garment: the adhesive melts, bonding the ink to the fabric. The result is a soft, stretchable print that holds up wash after wash. Because the design is printed on film first, you're not limited by fabric color or material—DTF works beautifully on cotton, polyester, blends, and even tough fabrics like canvas and denim.
The DTF Printing Process Step by Step
Curious about how it all comes together? Here's a quick rundown of the DTF workflow:
- Design Preparation: Create or import your artwork into a DTF printing software. Ensure it's mirrored (flipped horizontally) because you'll be pressing it face-down onto the fabric.
- Printing: Load the PET film into your DTF printer. The printer lays down a layer of white ink (if needed) followed by CMYK color inks. This white base is crucial for opacity on dark garments.
- Powder Application: While the ink is still wet, the film is coated with a hot-melt adhesive powder. Excess powder is shaken off, leaving a thin, even layer.
- Curing: The film is then heated to melt the powder, usually in a curing oven or with a heat press. This step activates the adhesive and dries the ink.
- Transfer: Once cooled, the transfer is ready to be applied. Place it on your garment and press with a heat press at the recommended temperature and pressure for about 10-15 seconds.
- Peel: After pressing, peel the film off while it's still warm (or cold, depending on the film type). Your vibrant design is now permanently bonded to the fabric.
Each step is straightforward, but attention to detail makes all the difference. For instance, using the right powder and curing temperature ensures the transfer won't crack or fade prematurely.
Why Choose DTF Transfers?
With so many printing methods out there—screen printing, vinyl, DTG—why is DTF gaining such a loyal following? Let's explore the key advantages.
Unmatched Versatility
DTF transfers work on an incredible range of materials. Unlike DTG, which requires specially coated fabrics, DTF adheres to almost anything: 100% cotton, polyester, blends, leather, canvas, and even glass or metal (with appropriate handling). This makes it ideal for printing on items like tote bags, caps, and jackets without worrying about fabric composition.
Vibrant, Durable Prints
The combination of white ink base and high-quality pigments produces colors that pop, even on dark backgrounds. And because the adhesive is heat-activated, the print stretches with the fabric and withstands repeated washing. Many users report that DTF prints last as long as the garment itself when applied correctly.
Cost-Effective for Short Runs
Screen printing requires separate screens for each color, which can be pricey for small batches. DTF, on the other hand, has no setup costs per color—you simply print what you need. This makes it perfect for one-off custom pieces, sample production, or small business orders.
Simple Workflow
You don't need a full print shop to get started with DTF. A DTF printer, a heat press, and some supplies are all it takes. The process is clean and relatively odor-free, making it suitable for home studios or small workshops.
Getting Started with DTF: Essential Tips
Ready to dive in? Here are some practical tips to help you achieve professional-looking results from your first try.
Choose the Right Film and Powder
Not all DTF films are created equal. Look for films that are compatible with your printer and offer good ink absorption. The adhesive powder should be fine and evenly graded; coarse powder can lead to a rough texture. Many suppliers offer starter kits that include both, so you can experiment without committing to large quantities.
Master Your Heat Press Settings
Temperature, pressure, and time are critical. Too little heat and the transfer won't adhere; too much and you risk scorching the fabric or melting the film. Always follow the manufacturer's recommendations for your specific film and powder. As a starting point, most DTF transfers press at 300-320°F (150-160°C) for 10-15 seconds with medium pressure. But don't be afraid to run test prints on scrap fabric to dial in your settings.
Prepare Your Garment Properly
Before pressing, pre-press the garment for a few seconds to remove moisture and wrinkles. This step ensures a smooth surface for the transfer to bond to. Also, make sure the fabric is clean and free of lint—a lint roller is your friend.
Store Transfers Correctly
Unused transfers should be stored in a cool, dry place, away from direct sunlight. Stack them with the film side down to prevent the adhesive from sticking to other surfaces. Proper storage keeps them ready for use whenever inspiration strikes.
Common Challenges and How to Solve Them
Even with the best tools, you might run into a few hiccups. Here are solutions to typical DTF issues.
- Transfer not adhering: Likely due to insufficient pressure, temperature, or time. Double-check your heat press settings and ensure the garment is flat.
- Design cracking after washing: This often happens if the transfer wasn't pressed long enough or if the powder wasn't fully cured. Try increasing pressing time slightly or ensuring the powder is melted completely during curing.
- Colors looking dull: Make sure you're using the correct ICC profile for your printer and that the white ink layer is thick enough. Also, check that the film is not expired.
- Film peeling off too early: If the film comes off before pressing, the adhesive may not have been activated. Ensure the powder is fully melted during curing.
With a bit of practice, these issues become easy to avoid.
Finding DTF Transfers Near You
If you're not ready to invest in a printer, you can still enjoy the benefits of DTF by ordering pre-made transfers. Many companies offer custom DTF printing services, and you can easily search for dtf transfers near me to find a local provider. This is a great way to test the waters or handle overflow orders without buying equipment.
When choosing a supplier, look for high-quality films and consistent color output. Reading reviews and requesting samples can save you from disappointment.
Frequently Asked Questions
What fabrics can I use with DTF transfers?
DTF transfers work on a wide range of fabrics, including cotton, polyester, blends, leather, canvas, and more. They're especially good for dark colors because the white ink base provides excellent opacity.
How long do DTF transfers last?
When applied correctly, DTF prints are highly durable and can last as long as the garment. They withstand repeated washing without cracking or fading, provided you follow care instructions (wash inside out, avoid bleach).
Can I use DTF transfers on items other than t-shirts?
Absolutely! DTF is versatile and can be used on tote bags, caps, jackets, aprons, and even hard surfaces like phone cases (with appropriate adhesive). The key is to ensure the surface can withstand heat press temperatures.
Do I need a special printer for DTF?
Yes, DTF requires a printer that uses DTF inks and is capable of printing on PET film. Some modified inkjet printers can be used, but dedicated DTF printers are recommended for best results.
How do I store unused DTF transfers?
Store them in a cool, dry place away from direct sunlight. Keep them flat and stacked with the film side down to prevent the adhesive from sticking to other surfaces. Properly stored transfers can last for several months.
DTF transfers are a game-changer for anyone looking to create custom apparel with ease. With the right knowledge and a little practice, you'll be producing professional-quality prints in no time.