
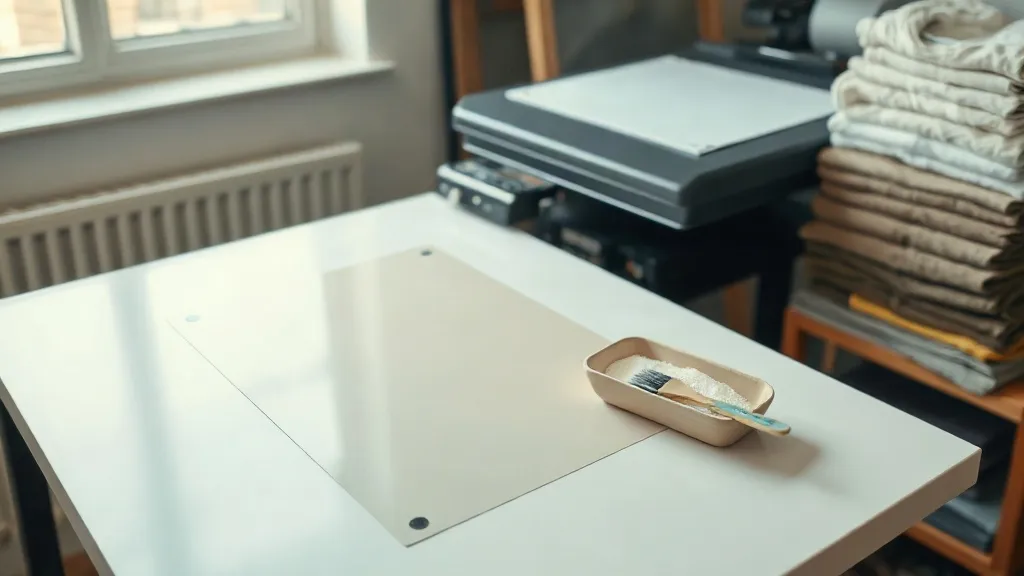
Most people meet dtf transfers through a single shirt they bought online, and the experience is either excellent or slightly plastic. The difference rarely comes down to the printer. It comes down to film, powder, moisture, and press discipline. If you run a small shop, a side business, or a market stall where you decorate garments on demand, those four variables decide whether your customer comes back or posts a complaint photo.
What follows is written from the bench, not from a spec sheet. It covers how dtf film behaves in humid rooms, why powder choice matters more than most tutorials admit, how to press onto cotton, polyester, and blends without scorching, and where beginners quietly lose money. Nothing here is a shortcut around testing, but it should shorten your learning curve considerably.
What DTF Actually Is, Stripped of Marketing
Direct-to-film printing means printing a mirrored image onto a coated PET film with pigment inks, then applying a hot-melt adhesive powder to the wet ink. The powder fuses into the ink layer, the film dries, and you end up with a flexible transfer sheet. Heat and pressure move that ink-and-adhesive layer off the film and into the fabric.
The important consequence is that you are not printing directly onto the garment. The garment only needs to tolerate press heat, not ink chemistry. That is why dtf works on cotton, polyester, canvas, nylon, leather patches, and even some coated surfaces that would ruin a direct-to-garment printer. It also means the fabric's surface texture matters far more than its fiber content.
Why It Caught On So Fast
Three reasons, and they are practical ones. First, no pretreatment is required on cotton, which removes a whole step and a whole machine. Second, you can print a job today and press it in three weeks, so you can build inventory without holding finished garments. Third, small batches stop being expensive because there is no setup cost per design.
The trade-off is that you now own a film workflow. Storage, humidity, powder handling, and press consistency all become part of your quality control. Shops that treat transfers as a consumable to be thrown in a drawer tend to see failure rates climb within a month.
Film and Powder: Where Quality Is Actually Decided
Two transfer sheets can look identical on the roll and behave completely differently on a shirt. The variables that matter most are coating quality and film thickness.
- Coated PET film holds the ink and releases it cleanly. Cheap or inconsistent coating causes patchy release, which shows up as a dull, speckled area on the garment.
- Thin film (often around 75 micron) drapes better and leaves a softer hand, but it wrinkles easily during powdering and can jam in some printers.
- Thicker film is more forgiving to handle and better for large, dense designs, but the finished print feels heavier on lightweight tees.
Powder is the other half of the equation. Fine powder (roughly 80 to 100 micron) gives a smoother, softer finish and suits detailed work. Coarser powder gives a stronger bond and better stretch recovery, which helps on athletic wear that gets pulled and washed hard. Most shops keep both and match powder to the job rather than settling on one.
Humidity Is Not a Minor Detail
Hot-melt powder is hygroscopic, meaning it pulls moisture from the air. Powder that has absorbed water clumps, applies unevenly, and produces transfers that crack along the clumped areas after a few washes. If your shop sits above 60 percent relative humidity, store powder in a sealed container with a desiccant pack and keep the film in a dry cabinet or a sealed bin.
A simple test: shake a small amount of powder in a clean jar. If it flows like sand, it is fine. If it sticks to the walls in sheets, it has taken on moisture and will give you inconsistent results.
Press Settings That Actually Work
Manufacturer recommendations are a starting point, not a destination. Real press behavior depends on platen size, whether the heat is even across the surface, and how much pressure your handle actually delivers. Use these as opening values, then verify with a wash test.
- Pre-press the garment for 3 to 5 seconds to remove moisture and flatten the surface. Skipping this is the single most common cause of poor adhesion.
- Peel the transfer warm or cold depending on your film type. Most modern films are cold peel, which means waiting 5 to 10 seconds after lifting the press. Peeling hot can stretch the image.
- Press at 150 to 160 degrees Celsius for 10 to 15 seconds with firm, even pressure. Lower temperatures need longer dwell, and going below 140 degrees risks a bond that fails in the wash.
- Use a cover sheet for a second short press of 5 seconds to lock the edges, especially on collars, seams, and hems.
Pressure is the setting people neglect. Too little pressure and the adhesive never fully contacts the fabric, so the transfer looks fine until the first wash. Too much pressure on a thin film can push ink into the weave and create a halo around the design. Aim for a firm, consistent feel and check that your press closes flat, not just tight.
Fabric-Specific Notes
On 100 percent cotton, adhesion is straightforward and wash durability is excellent. On polyester, lower the temperature slightly to avoid dye migration, and use a lower-temperature film or a blocker layer if the garment is a dark, sublimation-prone color. On blends, test a scrap first, because some 50/50 fabrics shrink under heat and distort the print.
Nylon and coated outdoor fabrics are the tricky ones. They often need a lower temperature and a longer dwell, and some water-repellent finishes actively resist adhesive. Test on an inside hem before committing a full order.
Finding a Supplier Without Wasting Weeks
If you are searching for dtf transfers near me, the practical question is not distance but turnaround and consistency. A supplier two streets away who ships uneven film is worse than one three days out who never varies. Ask three things before ordering in volume: what film brand and micron they use, whether they store powder in a humidity-controlled space, and whether they will send a sample sheet of a dense design and a fine-detail design for you to press yourself.
When the samples arrive, press one onto a white cotton tee and one onto a dark polyester shirt, then wash both inside out at 40 degrees and tumble dry. Check the edges first. Edge lift after two washes is a release or pressure problem, and it will appear on every order from that supplier.
The Mistakes That Quietly Eat Your Margin
Most waste in a small dtf operation is not dramatic. It is a hundred small failures that add up to ruined blanks.
- Printing on film that has been stored in a humid room, then blaming the powder for clumping.
- Pressing on a cold platen because the press was switched on two minutes earlier. Wait for the temperature to stabilize.
- Peeling too early on a cold-peel film, which stretches fine text and thin lines.
- Stacking finished transfers before they are fully dry, which fuses sheets together and ruins both.
- Ignoring garment shrinkage on blends, then discovering the print sits crooked after the first wash.
None of these requires new equipment. They require a checklist taped next to the press and the discipline to follow it when a customer is waiting.
Frequently Asked Questions
How many washes should a DTF transfer survive?
A properly pressed transfer on cotton typically holds up for 50 or more washes when washed inside out in cold or warm water and tumble dried on low. Failures usually trace back to insufficient pressure, low press temperature, or moisture in the powder rather than the film itself.
Can I press DTF onto a shirt that already has a print on it?
You can, but avoid pressing directly over an existing plastisol or vinyl print because the heat can soften and distort it. Press around it, use a smaller platen if you have one, or place the new transfer in a clear area of the garment.
Why does my transfer look dull after pressing?
Dullness usually means incomplete transfer. Either the pressure was too light, the temperature too low, or the film was peeled before the adhesive fully bonded. Try a second short press with a cover sheet and check that your press closes flat across the whole platen.
Is DTF suitable for small one-off orders?
Yes, and that is one of its main advantages. There is no screen setup and no minimum quantity, so a single shirt costs roughly the same per unit as a run of twenty. The main cost is your time in gang-sheeting designs efficiently.
Do I need a special printer to get started?
You need a printer with a DTF-compatible ink set and a film path that handles PET without jamming, plus a shaker or a manual powdering setup and a heat press. Many shops start with a converted desktop printer and upgrade once volume justifies it.